
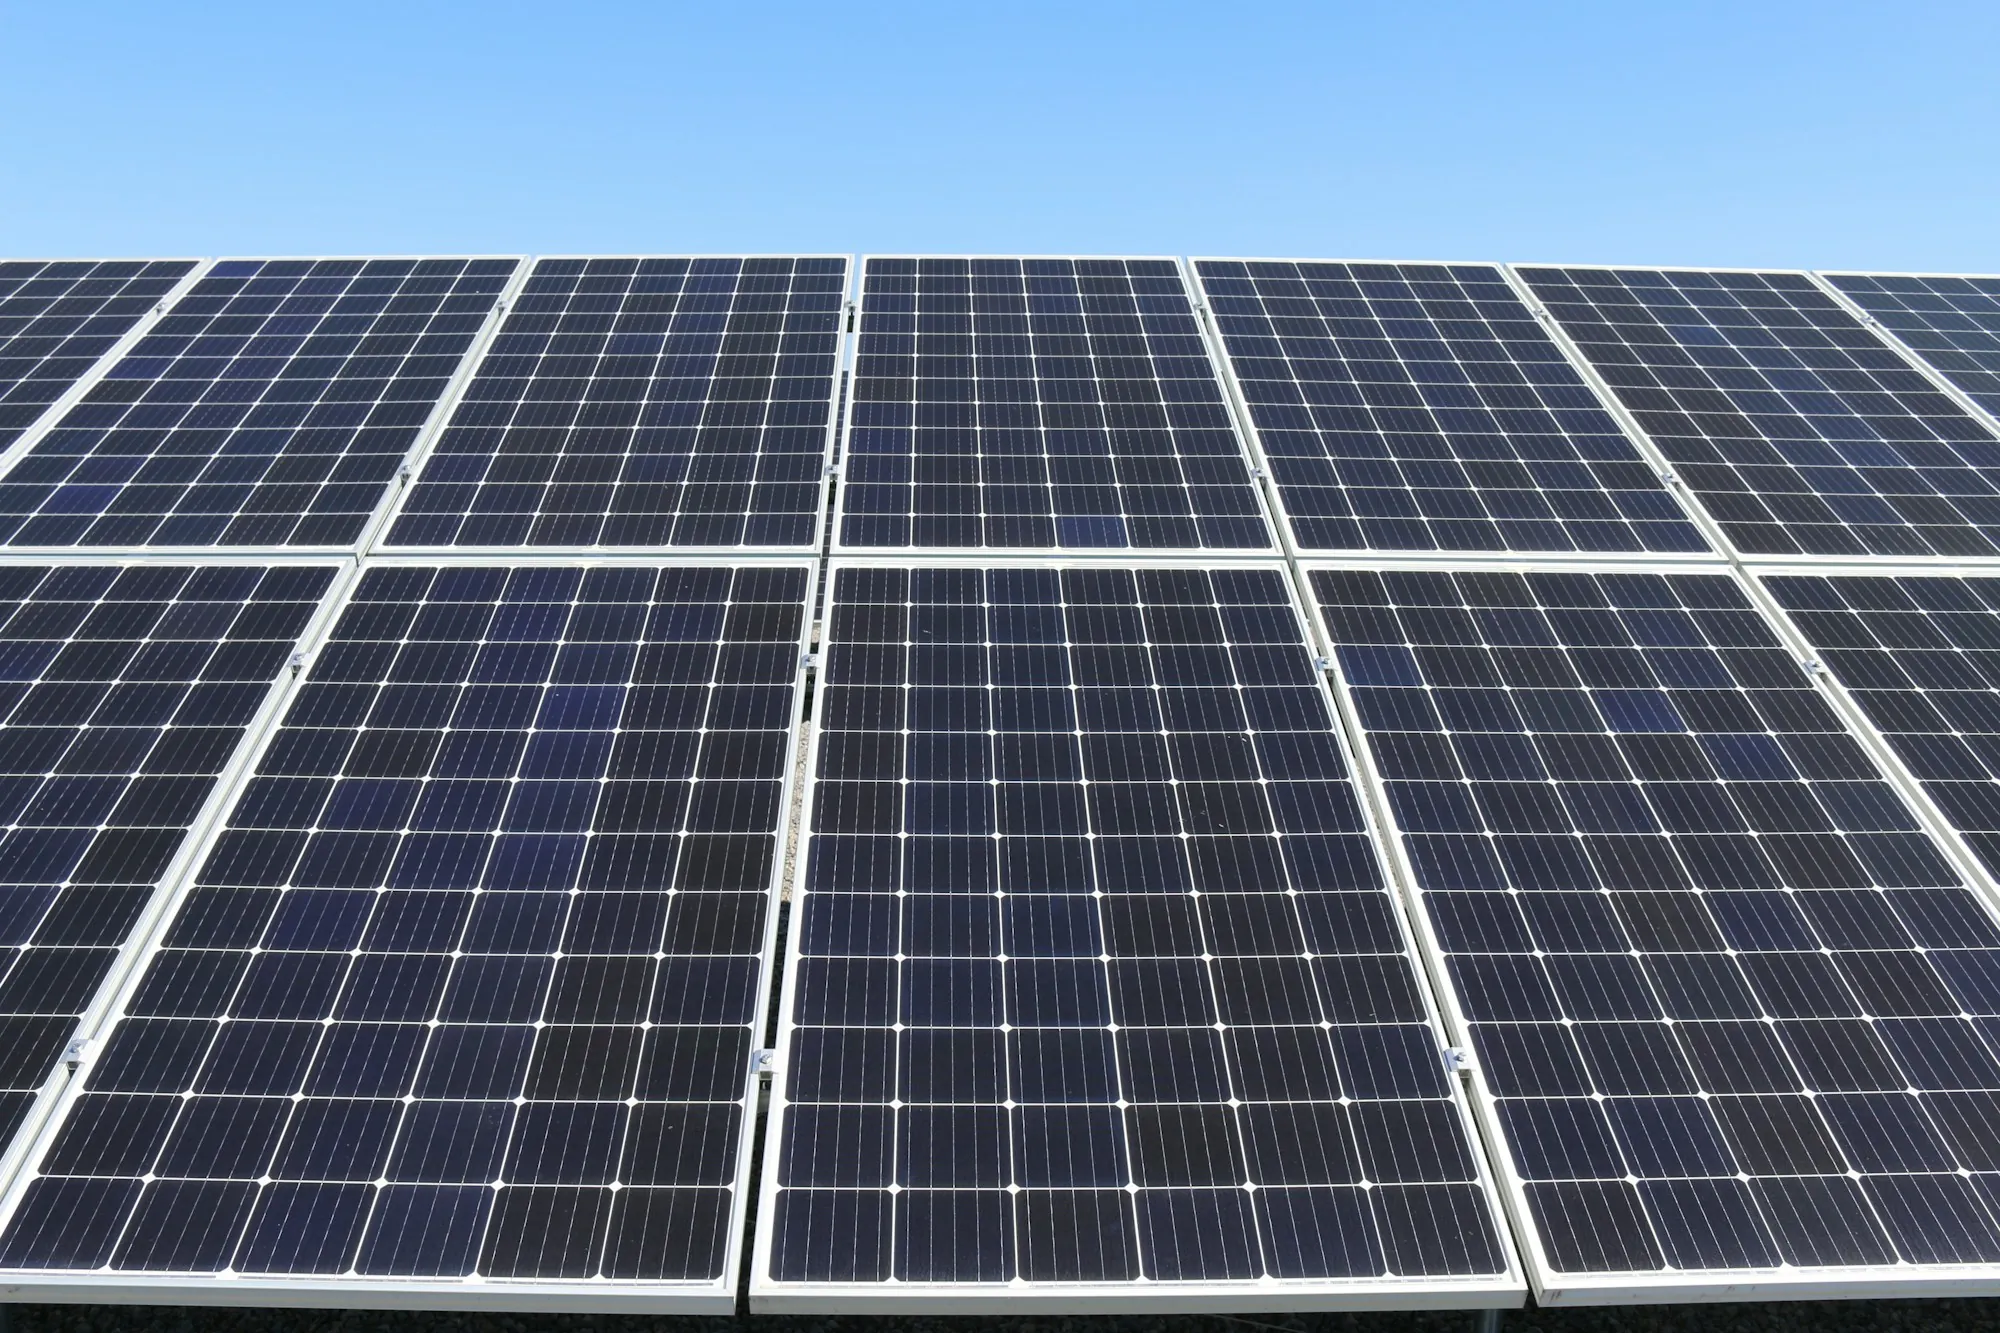
On a Homewood street, the roofer’s dumpster is gone, the new shingles look sharp, and the panels are back where they were. From the sidewalk the job looks done. But a reinstalled solar system is not finished when the last panel is bolted down. It is finished when it has been tested and recommissioned and is producing power again the way it should.
This guide walks through how a solar system is tested and recommissioned after reinstall, step by step, using the kinds of checks found in a U.S. Department of Energy field inspection checklist. It also covers what you can check yourself afterward. The same steps apply whether the reset was booked by a homeowner through our detach and reset service or by a roofer through contractor detach and reset with Solar Panel Removal Homewood.
Step 1: Confirm the mechanical work before anything is energized
Recommissioning starts with the roof and racking, not the wiring. Before the system is switched back on, the installation should be checked for physical soundness: every panel in its original position, racking secure, and every roof penetration sealed and weather tight.
The SERC Solar PV System Field-Inspection Checklist, published through the Department of Energy, lists items like these for a reason. It asks whether modules are installed per plans in number and layout, whether roof penetrations are secure and weather tight, and whether modules are in good condition with no broken glass, damaged frames or discoloration.
On a reset, that last point matters more than on a new install. Panels have been handled, stacked and stored during the reroof. A visual check of each one before it goes back into service catches a cracked panel or a bent frame early, while it is still easy to deal with.
Step 2: Check connectors, wiring and grounding
The second step is a close look at the electrical connections on the roof. Every panel was unplugged during the detach, so every connection has been remade.
The DOE checklist includes the details an inspector or careful crew looks for: module connectors tight and secure, wiring neat and secured, conductors not in contact with the roof surface, conduit supported properly, and no potential for wire damage from sharp edges. It also covers grounding of the panel frames, racking and other metal parts that could become energized.
Wiring that rests on new shingles is a common shortcut to avoid. Over a few Chicago-area winters, wind, ice and expansion can wear a loose wire against the roof. Clipping it up off the surface is a small task that prevents a much bigger one.
Step 3: Measure each string before the inverter starts
Electrical testing comes before the system is put back into service. On string systems, panels are wired together in groups called strings, and each string can be measured on its own.
The DOE checklist calls for measuring and recording the open-circuit voltage and polarity of each string, confirming that all strings have the same number of modules, and measuring short-circuit current for each string. Numbers that do not match what the string should produce point to a loose connection, a reversed wire or a damaged panel, and they are much easier to trace now than after the system has been running for a while.
Systems built with electronics at each panel may be tested differently, often through the equipment’s own software. The principle is the same: confirm that every part of the array is connected and reporting before calling the job complete.
Step 4: Restart the system the way the manufacturer intends
Startup is not just flipping a switch back on. The DOE checklist says to follow the manufacturer’s instructions for the inverter startup sequence, and to confirm the inverter shuts down when utility power is disconnected and does not restart for at least five minutes after the utility is reconnected, a requirement it ties to the UL 1741 standard.
That behavior protects utility line workers. A system that kept pushing power onto the lines during an outage would be dangerous, so the shutdown and delayed restart are part of what makes a grid-tied system safe to reconnect.
After startup, the inverter’s reading should be compared against what the system should produce in the conditions at that moment. The checklist recommends confirming the inverter’s power reading with independent meters.
Step 5: Verify labels, disconnects and paperwork
The last physical step is making sure the system is identifiable and easy to shut off. The DOE checklist includes labeling at the DC disconnect and the AC point of connection, outdoor labels built to withstand weather, and accessible disconnects.
Labels and disconnect hardware get moved, scratched or covered during a reroof, especially when siding, gutters or flashing near the electrical equipment are touched. A quick walk-around confirms everything is where a firefighter or service tech would expect to find it.
Paperwork belongs here too. Keep a record of what was done: the date of the detach and the reset, anything that changed, and the test readings if they were provided. If the village required a permit or inspection for the work, keep that alongside your original solar records.
Step 6: Watch production in the following weeks
Testing on reset day proves the system works. Monitoring over the next few weeks proves it keeps working. Most residential systems have a monitoring app or web portal tied to the inverter or panel-level electronics.
The Department of Energy’s Federal Energy Management Program notes that monitoring platforms can report availability and performance, and can alert operators to abnormal conditions and faults. That guidance is written for federal facilities, but the same tools on a home system do the same job on a smaller scale.
If your system reports at the panel level, open the app and check that every panel shows up and is producing. A single panel reading zero while its neighbors produce normally usually means one connection did not seat, which is a quick fix while the roof work is still fresh. On string systems, the app may only show totals, so the comparison over time matters more.
Compare production with the same season in earlier years, not with last week. In Homewood and the rest of south Cook County, late fall and winter bring short days, a low sun and the occasional snow-covered array, so output naturally drops. A clear spring day that produces well below past spring days is a better signal than a gray November day.
Questions homeowners ask about testing after a reinstall
How do I know my solar system was tested properly after reinstall?
Ask what was checked and whether readings were recorded. A thorough recommissioning covers the mechanical work, connections, string or panel-level readings, a proper startup and a production check. Then watch your monitoring app for the first few weeks.
Will my panels produce the same amount after they go back on?
They should, if the panels go back in their original positions and orientation and nothing was damaged in storage. Seasonal changes and weather will move the numbers, so compare against the same time of year. A sustained drop on clear days is worth asking about.
Does the utility need to approve the system again?
That depends on your utility and the work done. The Department of Energy’s page on permitting and inspection for rooftop solar describes the usual path for a new system: a local inspection, then the utility connects it. For a reset, confirm with your utility and the village whether any notice or inspection applies.
Does the weather on reset day affect the test?
It affects the numbers, not whether the test is valid. The DOE checklist has testers record the sunlight level, the air temperature and the array temperature alongside the readings, because output changes with all three. Readings taken under heavy clouds simply need to be judged against those conditions, and a follow-up look at production on a clear day confirms the result.
What should I do if my monitoring app shows an error after the reset?
Write down the error and when it started, then contact the company that did the reset. An alert can come from something as simple as a connector, a communication setting or a tripped breaker, and the crew that did the work knows the system as it was reinstalled. Do not open electrical equipment yourself.